


Post by Deleted on Jul 23, 2011 3:19:54 GMT -5
Hey people!
If you don't know, I have been doing several recolors and alterations for not only myself but others as well. And even though I'm happy to do such recolors myself, it has been requested that I make a tutorial based on how I recolor images with Adobe Photoshop.
DON'T WANNA DO IT YOURSELF?
This is only a thread for those who want to learn. If you would like me to do the work for you click here.I am very willing to do it. Doing graphic work is very enjoyable so don't be afraid to ask.
BUT IT'S SOOO EASY!
In this tutorial you'll learn how to make recolors such as these:

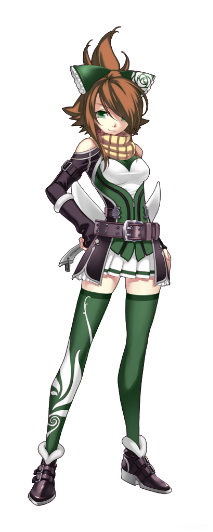
Step 1
Pick a flipping render!
FYI MOMENT: Render is the actual character of the picture or the center piece in which you base the image around. Usually renders are cut out and put on top of backgrounds.
Pick a render and open it in photoshop... Pretty damn easy step if you ask me.
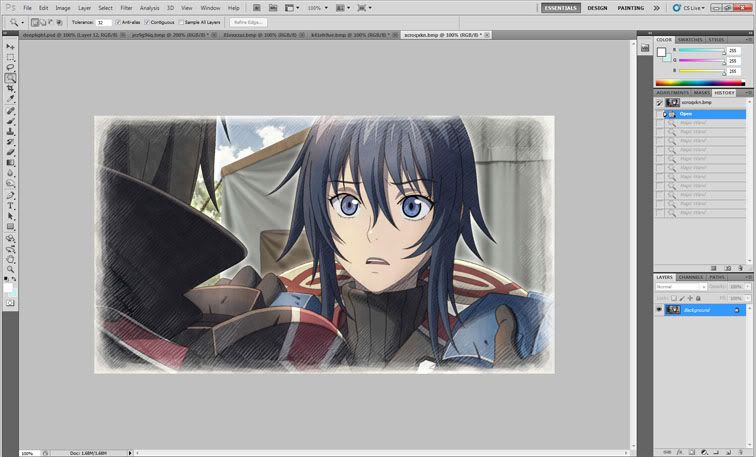
Step 2
Select the area of change.
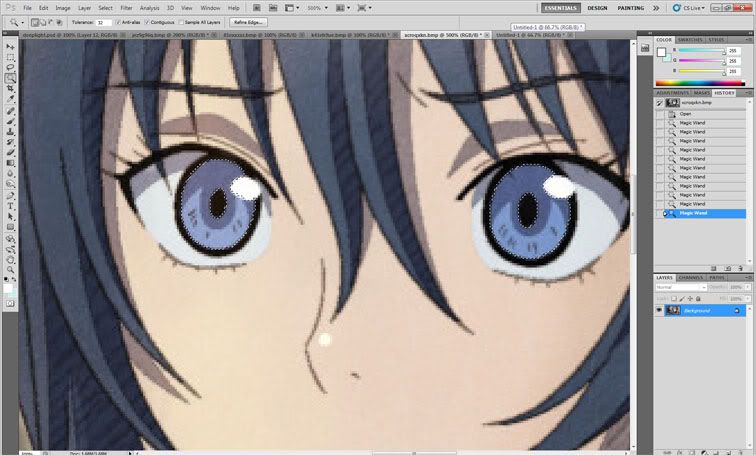
Using the various selection tools, select a part of the image you wish to change. In this image I'm going to change the color of the girl's eyes from blue to brown.
So I selected the blue part of her eyes. Make sure you do a good job on this step. It is the most difficult, but if you don't do it perfect you'll have a sloppy image.
Step 3
Choose Black and White.
After you have the area selected you need to open the Black and White window.
Image->Adjustments->Black and White
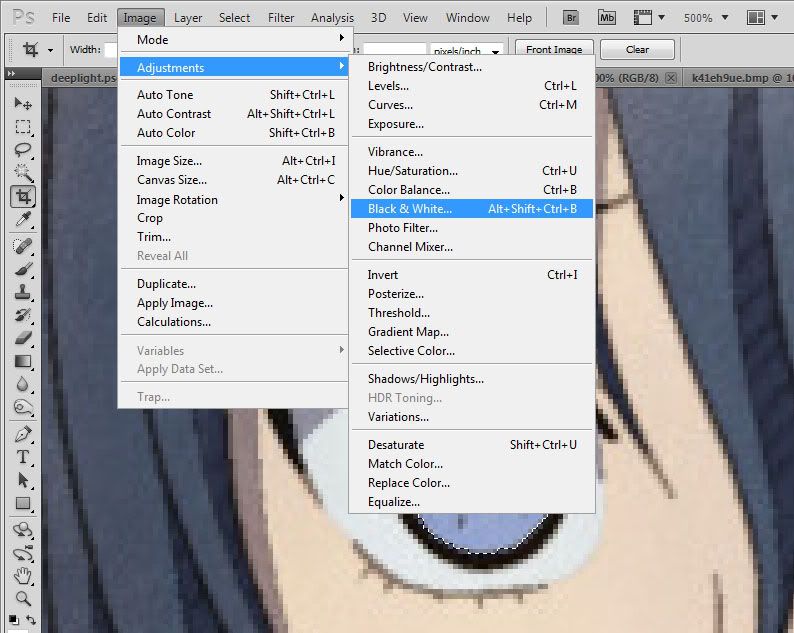
Once you bring up the "Black and White" window you will notice that the selected area will turn to grayscale. But this is not what we wanted! We want color!
SO CLICK ON "Tint"!
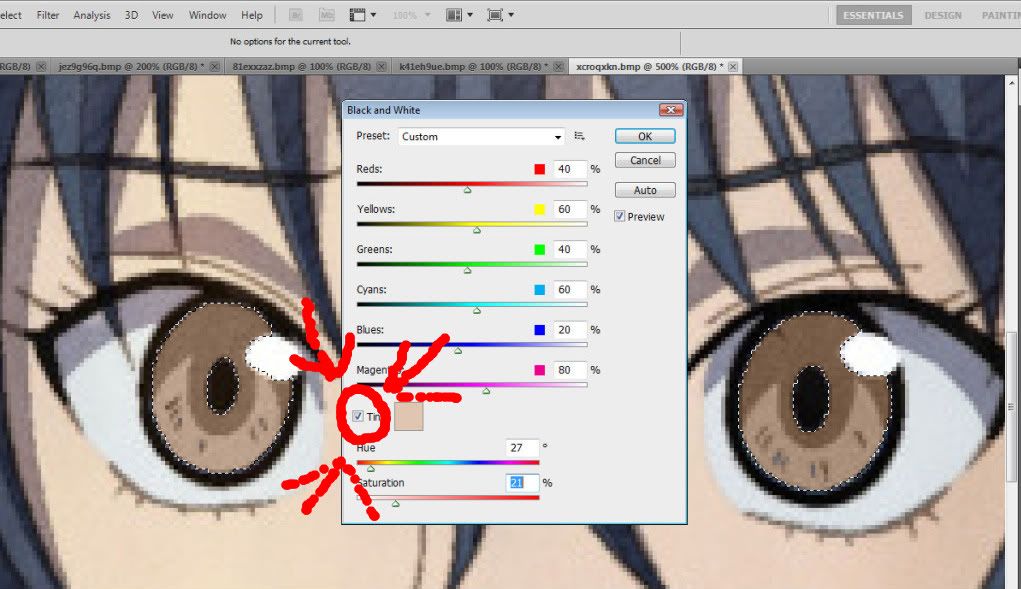
After this you can slide the color slider to a desired shade. I want brown so I picked a reddish hue. It's not the dark brown I want, but we'll get there soon enough.
Step 4
Adjust Brightness and Contrast
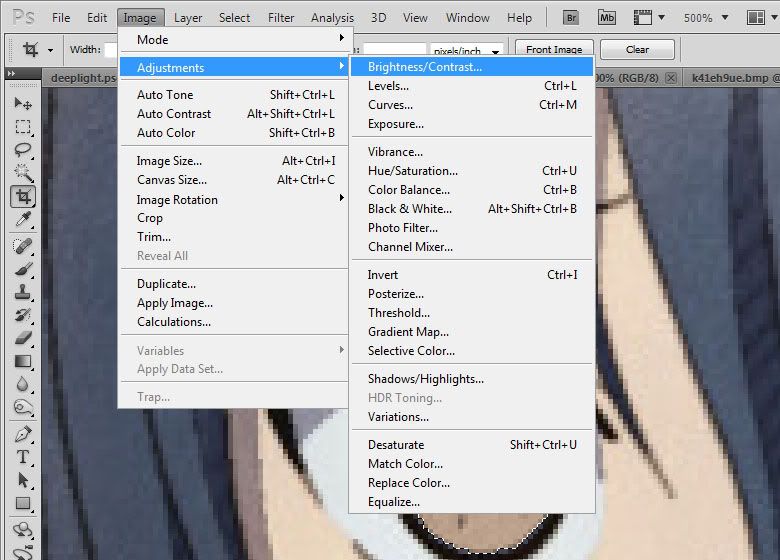
So our brown is way to light so now we have to change the brightness and contrast. So pull up the the "Brightness/Contrast" window.
Image->Adjustments->Brightness/Contrast
From there you need to play around with the brightness and contrast sliders until you get the desired finished color. If you feel the color tint was off, go back and change the tint via the Black and White window.
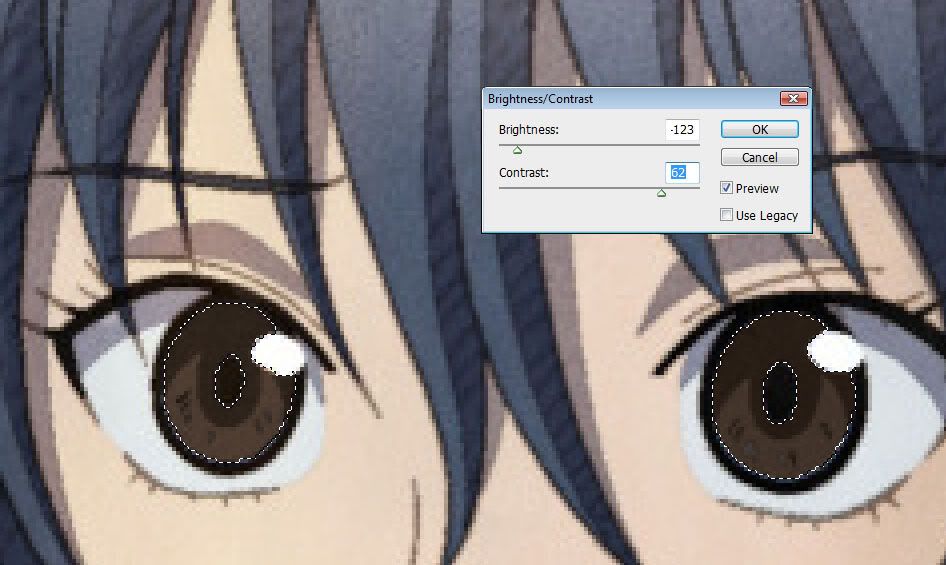
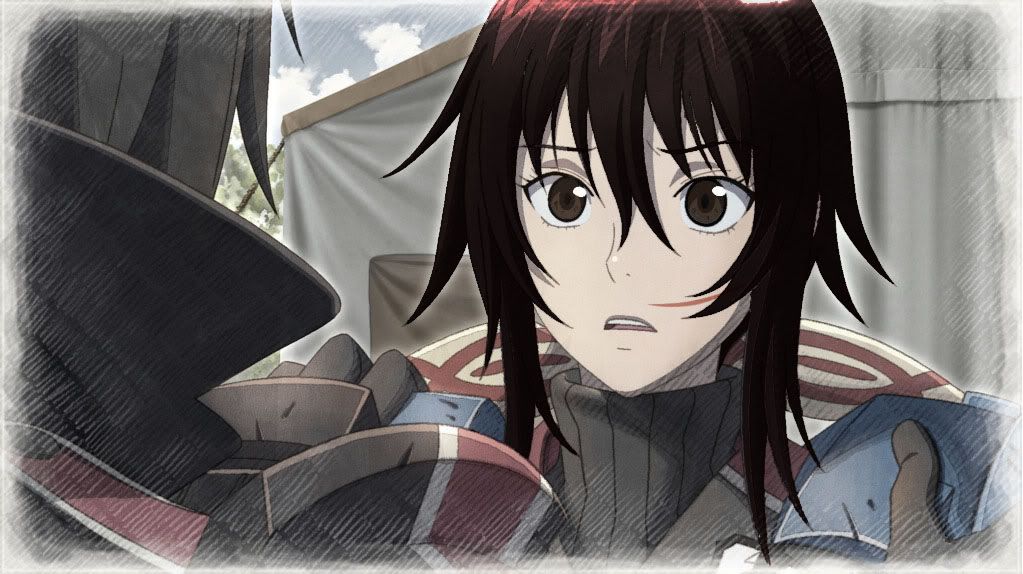
And now our eyes are done!
Step...
Repeat!
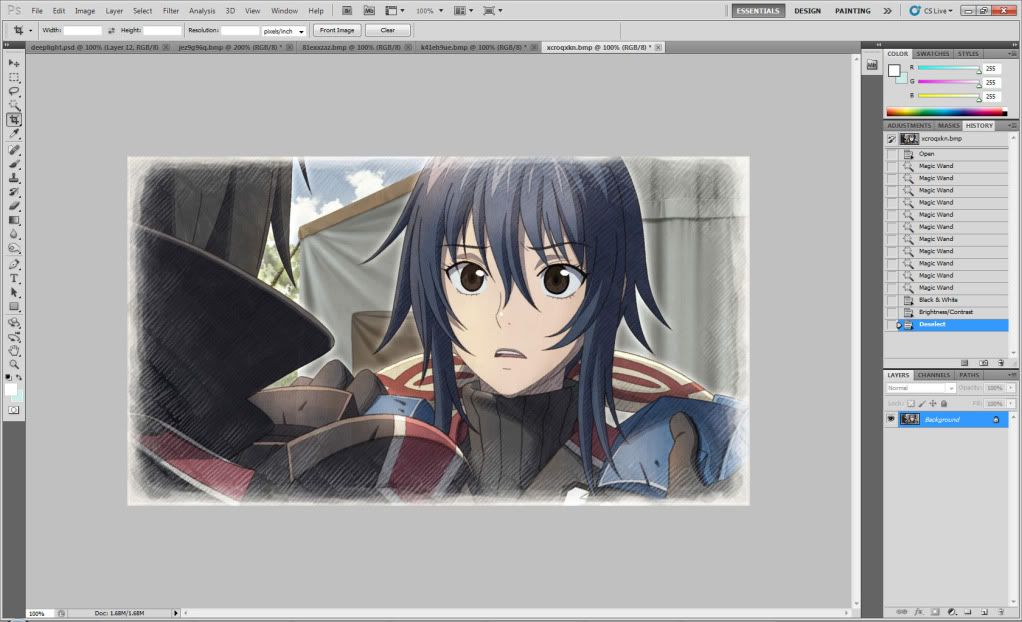
Repeat this process for each area that needs changing. I continued to work with this image and I recolored her hair using the same process!
FAQ:
If you have any questions I'll answer them here!
If you don't know, I have been doing several recolors and alterations for not only myself but others as well. And even though I'm happy to do such recolors myself, it has been requested that I make a tutorial based on how I recolor images with Adobe Photoshop.
DON'T WANNA DO IT YOURSELF?
This is only a thread for those who want to learn. If you would like me to do the work for you click here.I am very willing to do it. Doing graphic work is very enjoyable so don't be afraid to ask.
BUT IT'S SOOO EASY!
In this tutorial you'll learn how to make recolors such as these:
Step 1
Pick a flipping render!
FYI MOMENT: Render is the actual character of the picture or the center piece in which you base the image around. Usually renders are cut out and put on top of backgrounds.
Pick a render and open it in photoshop... Pretty damn easy step if you ask me.
Step 2
Select the area of change.
Using the various selection tools, select a part of the image you wish to change. In this image I'm going to change the color of the girl's eyes from blue to brown.
So I selected the blue part of her eyes. Make sure you do a good job on this step. It is the most difficult, but if you don't do it perfect you'll have a sloppy image.
Step 3
Choose Black and White.
After you have the area selected you need to open the Black and White window.
Image->Adjustments->Black and White
Once you bring up the "Black and White" window you will notice that the selected area will turn to grayscale. But this is not what we wanted! We want color!
SO CLICK ON "Tint"!
After this you can slide the color slider to a desired shade. I want brown so I picked a reddish hue. It's not the dark brown I want, but we'll get there soon enough.
Step 4
Adjust Brightness and Contrast
So our brown is way to light so now we have to change the brightness and contrast. So pull up the the "Brightness/Contrast" window.
Image->Adjustments->Brightness/Contrast
From there you need to play around with the brightness and contrast sliders until you get the desired finished color. If you feel the color tint was off, go back and change the tint via the Black and White window.
And now our eyes are done!
Step...
Repeat!
Repeat this process for each area that needs changing. I continued to work with this image and I recolored her hair using the same process!
FAQ:
If you have any questions I'll answer them here!